 Last updated by James McBryan on 11/13/2020
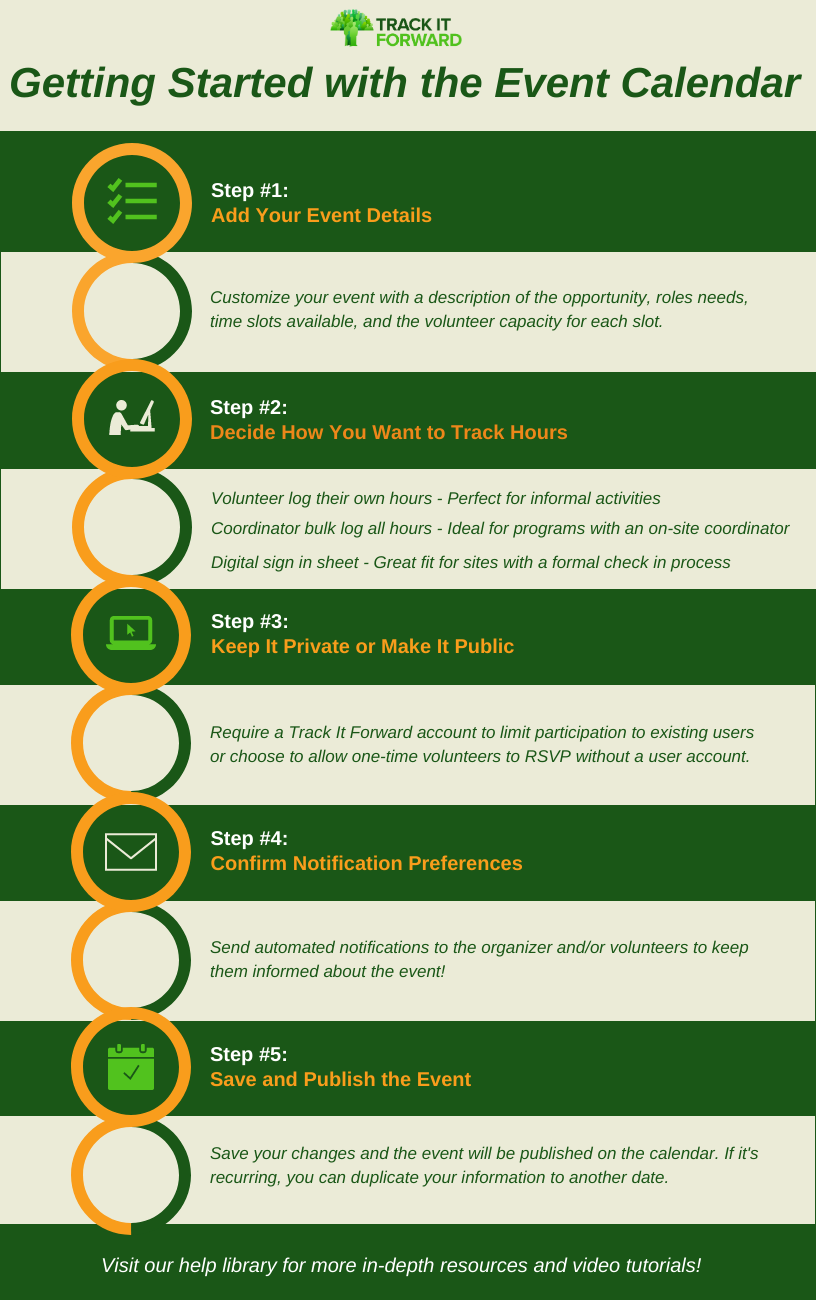
Posting opportunities on the event calendar makes it easy for volunteers to view upcoming activities and sign up for a time! There are a few key steps to keep in mind as you create your first event.
Step 1: Add Event Details
Customize the event for your needs by adding a description, create multiple time slots, list jobs available, and set the volunteer capacity for each shift.
Step 2: Decide how to track hours: Depending on your program, there are a few options for logging event hours.
- Volunteers log their own hours: After the event, the volunteer will receive a reminder to log their hours. This is perfect for informal activities where coordinators may not track attendance or volunteer time.
- Coordinators bulk log hours for all participants: After the event, the coordinator will receive a reminder to log hours on behalf of volunteers. This is ideal for programs with an on-site coordinator who knows which volunteers participated and how long they stayed.
- Digital sign-in sheet: Log hours instantly using a digital sign-in sheet on site! Great fit for organizations with a formal check-in process at the event.
Step 3: Change event settings to public or private
Choose who has access to the event by requiring a Track It Forward account. If you want to make it open to anyone, you can allow registration without an account so one time volunteers can participate.
Step 4: Confirm notification preferences
Select what automated notifications you want to use for the event to keep organizers and volunteers updated. You can choose to send volunteers a registration confirmation, notification of a deleted event, and reminder email 2 days before the event. Organizers can receive an email notification when a volunteer registers and if a volunteer cancels.
Step 5: Save and Publish
After you’ve selected your preferred settings, you can save the event and it will appear on the calendar for volunteers. If it’s a recurring opportunity, you can use the duplicate function to add the opportunity to multiple days.
For more in-depth resources on creating an event, you can check out this article.